Category: Uncategorized

Bills. Bills. Bills.

Finding a dentist who’s reliable, fairly priced, and good at what they do can be a challenge. With so many practices competing for your business, how do you know who to trust with your oral health?

In Ontario, most dentists try to stick to the suggested fees outlined in the ODA’s (Ontario Dental Association) Suggested Fee Guide for General Practitioners. While the guide is not available online, there are copies available in a number of public libraries around the province, or you can call the ODA directly to learn more about the suggested fees.


At Archer Dental, we charge $135 for a complete adult exam, for an emergency appointment, and for a specific consultation.


The first visit for a child under 3 years old is $49. The cost for the first exam of a child with baby teeth is $68. Children with both baby and permanent teeth (known as mixed dentition) are $102.


We charge $55 for 15 minutes of hygiene and scaling (meaning the average adult patient will pay $165.00 for 45 minutes of scaling (the removal of plaque, tartar, and bacteria) as well as polish, fluoride, and x-rays).


Are you interested in Invisalign? We do our best to make it as affordable as possible for every patient. Please speak with one of our team members to learn more about how we can straighten things out for you based on your specific needs!

At Archer Dental, we want to make sure everything about how we operate is as transparent as possible. Feel free to give us a call or contact us online with any questions about our services and fees!


Braces vs Invisalign

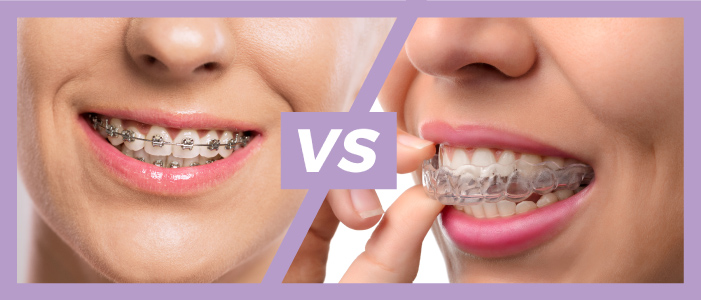
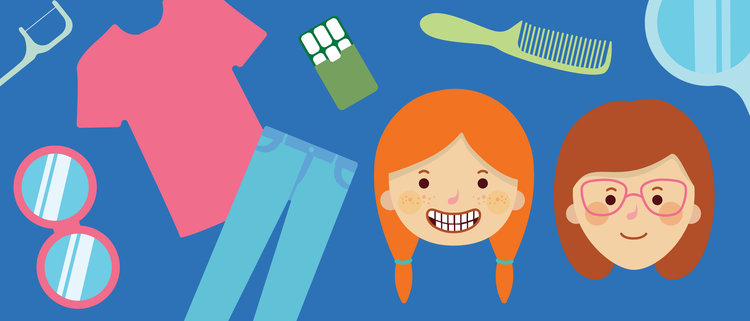
Trying to make the decision between braces and Invisalign can be difficult; braces tend to be less hassle (once they’re on, they’re on) but are impossible to hide, while Invisalign is removable but requires more active participation from the wearer.

We’re breaking down all of the advantages and disadvantages of braces vs Invisalign to provide the transparency you need to get the details straight.


Braces

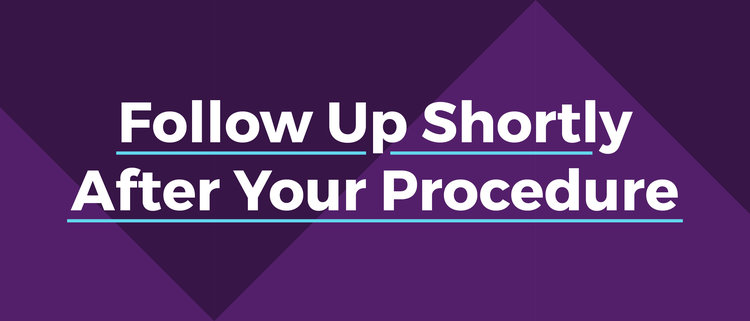
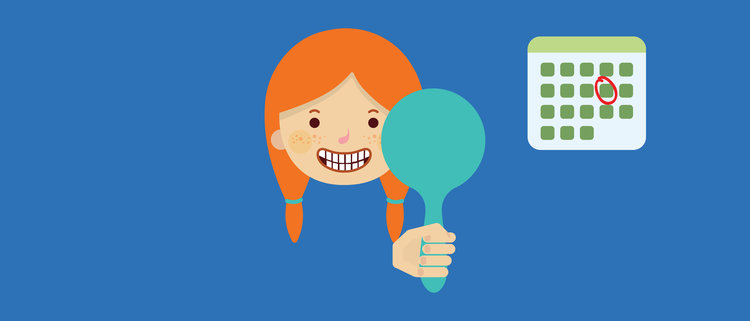
Braces are definitely the more time consuming option. Between the initial appointment in which the brackets/wires are applied and the regular follow up appointments, you’ll find yourself in your dentist’s chair fairly often. It’s safe to say braces are more of a time commitment because there’s so much hardware involved.

Invisalign

After taking scans of your mouth, the longest part of the Invisalign process occurs when your dentist applies attachments to your teeth to help the trays stay in place. After that, you’ll need to come in occasionally so your dentist can check that things are progressing properly but the time commitment is fairly low.


Braces

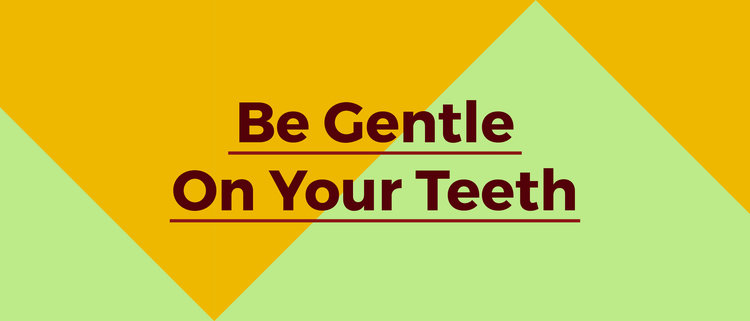
Once your braces have been attached to your teeth, they’re on for good (or until your orthodontist removes them). You can eat without a care while wearing your braces (which is a definite plus) but you might have to restrict what you eat. Certain foods tend to get caught in the brackets or under the wire, so you’ll also have to increase how often you floss.

Invisalign

With Invisalign, you don’t just get one tray to look after, you get multiple. You also have to be prepared to take your trays out every time you want to eat something (whether you’re at work, at the movies, or at a restaurant). You have to be prepared to carry your supplies around with you at all times.


Braces

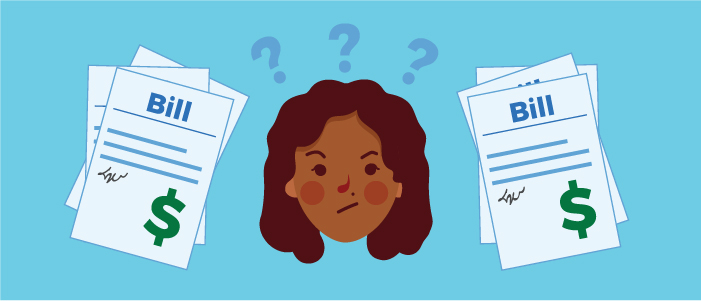
Braces range in cost anywhere from $3000 to $8000 (depending on how complicated the treatment plan is).

Invisalign

When it comes to cost, Invisalign has the advantage but you’ll have to book an appointment with your dentist to get a quote tailored to your specific needs.


Braces

Straight teeth guaranteed! Just like Invisalign, you will need to wear a retainer afterward to make sure your teeth stay in place.

Invisalign

Your teeth will be just as straight as if you’d worn braces. You will need to wear a retainer at night to maintain your new tooth alignment.


Braces

Braces aren’t too bad if you’re a kid surrounded by other kids also wearing braces, but if you’re an adult? It can be daunting to say the least. Braces are impossible to hide and it’s important to consider how they might affect your confidence both in your personal life and in the workplace.

Invisalign

Invisalign is hands down the winner in this category. The trays are transparent and far more subtle than braces. While people will be able to tell you’re wearing them from up close, they’re far more discreet than braces (and they’re removable).


Braces

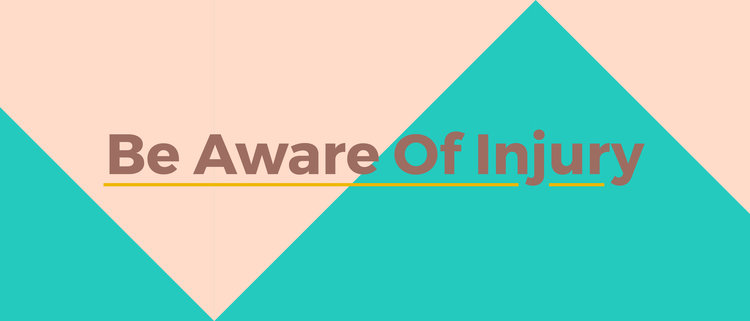
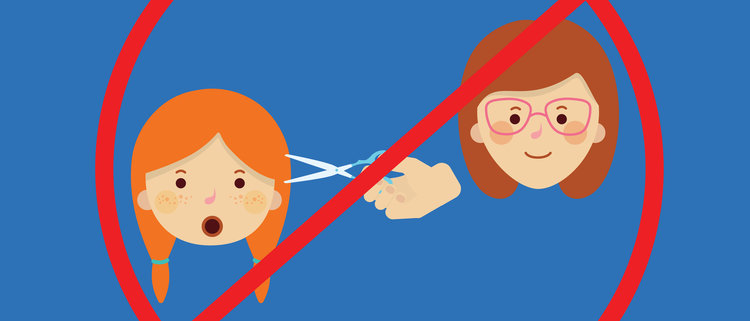
Wearer beware. In addition to the pain and discomfort after an in office adjustment, you’re also more likely to cut your tongue or the inside of your mouth on the brackets (especially if you play sports).

Invisalign

Manageable. There’s always going to be tooth pain and sensitivity after adjusting to a new tray, but it shouldn’t last too long.


Braces

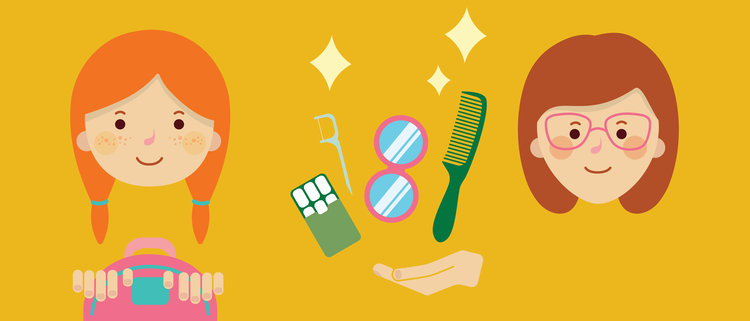
Braces are low-to-no maintenance and are perfect for kids and teenagers who are unlikely to remember to wear their trays as often as they’re supposed to (or to clean them properly.)

Invisalign

Invisalign is great for all ages but particularly for adults and teenagers who can be trusted to wear their trays when they’re supposed to and who will reliably follow their dentist’s directions


Mouth Doctors Defined

There are many different types of dentists and specialists that work with your mouth. We’ve come up with a chart to help you identify all of the doctors involved in maintaining your oral health.


A general dentist is your primary dentist and oral health care practitioner. They are responsible for your overall oral health (including gums, root canals, fillings, crowns, veneers, bridges) and will help educate you in the ways that you can prevent future problems, tooth decay etc.


Anyone who’s had braces, a retainer, or Invisalign is intimately familiar with this particular dentist. An orthodontist specializes in the alignment of the teeth and surrounding structures of the mouth and focuses on straightening the teeth and treating any sort of bad bite (underbite, overbite, etc).


These mouth doctors specialize in the treatment of children (from the age of 1 all the way into early adulthood). Pediatric dentists take additional training in medical school to help them understand the special needs that often go along with children’s dentistry.


An Endodontist focuses specifically on the dental pulp (or nerve) of the tooth. They help to diagnose patients and come up with treatment plans directly concerning the root of the tooth. The next time you need a root canal, you can expect to be treated by one of these mouth doctors.


This mouth doctor studies the various causes of diseases that affect oral structures (like your jaw, your teeth, your lips, and your cheeks) and sometimes permanently alter them. They also analyze and example biopsy samples that they have taken themselves or that were sent to them by other doctors in order to diagnose patients.


This mouth doctor takes your X-rays and then interprets the images and the data in order to help diagnose and manage any potential conditions, disorders, or diseases present.


This doctor performs any surgeries within the maxillofacial area (which covers the mouth, jaw, and even the face in its entirety.) In addition to tooth removal, tumour and cyst removal, reconstructive surgery and dental implant surgery, these doctors also perform surgery on accident victims who have suffered facial injuries.


This mouth doctor focuses on ailments, conditions, and diseases affecting the soft tissues in the mouth (gums and tongue) as well as the bones and teeth. A periodontist is often the one to diagnose and treat gingivitis and periodontitis and will perform procedures like gum pocket cleaning, soft tissue and bone grafts, root planing, crown lengthening, flap procedures, hard and soft tissue recontouring and implant placement.


This mouth doctor uses artificial teeth, crowns, and caps to repair natural teeth and replace any missing or extracted teeth. They also specialize in replacing teeth using dental implants and are trained to help patients with head and neck deformities via artificial substitutes.


A dental hygienist performs all of the standard procedures your mouth undergoes during an cleaning. From removing plaque to polishing the teeth, your hygienist helps you maintain your smile and keep an eye out for any potential problems.


So You’re Getting a Root Canal

There’s a reason the root canal is often the go-to comparison of choice when people are discussing unpleasant experiences. It’s the most universally dreaded of all dental procedures, but that doesn’t downgrade its importance in the world of oral health.

We want to help prepare you for your root canal by explaining the basics for you beforehand and by giving you some pain management techniques (both during and after) your treatment.


In the simplest terms, a root canal is necessary when the pulp of the tooth (the innermost part of the tooth attached to the root) becomes infected. The infection can stem from a particularly large cavity or damage/trauma to the tooth. During the root canal procedure, the infected pulp is removed and replaced with filling material.

We won’t lie to you – it’s definitely not an easy procedure to sit through, but there are steps you can take to manage your discomfort.


It’s important to understand that the pain you feel is first and foremost caused by the infection in the tooth as opposed to the root canal treatment itself (which is primarily done to ease and eventually eliminate any pain).


You will be given a local anesthetic to numb the tooth and the surrounding area prior to the procedure and, if you’re still nervous that won’t be enough, there are always other options like nitrous oxide (also known as laughing gas). Your dentist can help calm you down before the procedure by going over exactly what they’ll be doing step by step (knowledge is power, after all). If you’re really nervous, try practicing some deep breathing exercises prior to the procedure to ensure your heart rate is steady and you’re as calm as possible.


Although the infected pulp has been removed, you will likely still feel some pain and discomfort after the procedure is over. While it’s true that the tooth will no longer feel any sensitivity to heat or cold, the surrounding area will need some time to recover from the procedure. Your dentist can prescribe you medicine to help your mouth heal from the resulting inflammation.


Remember that you will have to go back to the dentist for a follow up shortly after your procedure because the temporary filling in your tooth is just that – temporary – and will need to be replaced with a permanent filling or crown to ensure the canal of your tooth stays bacteria and infection free!


Be gentle on your teeth in the days after a root canal and try to stick to foods and drinks that won’t aggravate the area of the procedure. Your dentist will give you some specific tips when you’re leaving the office but the best way to avoid aggravating your tooth is to avoid very hot or very cold food and drink, to eat on the opposite side of the tooth that’s been treated, and to eat soft foods that don’t require much chewing.


Your mouth is going to be numb after the procedure so the chances of you accidentally injuring yourself without noticing are much higher (i.e. biting the inside of your cheek or burning your mouth because you can’t gauge the temperature of the food you’re eating).


Be careful, let your mouth heal, and if the pain is particularly intolerable, ask your dentist to recommend a pain reliever (oftentimes something as simple as Advil or Tylenol will do the trick but it’s good to know there are other options available to you should you need them).


Tools of the Trade

Going to the dentist for oral surgery can be traumatic but even getting a teeth cleaning can be an anxiety inducing experience if you’re not sure what your dentist will actually be doing inside your mouth and the purpose all of those intimidating looking tools.

Let’s read up and learn exactly what happens when patients sit down in the dentist’s chair. Let’s demystify some of the most common tools of the trade.

There are two main types of dental tools: handheld and rotary.

Handheld tool are exactly what they sound like: much like scissors for a barber, a dentist’s handheld tools require no external power and can be used anytime, anywhere.

Some of the most common handheld tools include mouth mirrors, probes, tweezers, scalers, excavators, chisels, hatchets and hoes.

Mouth Mirror

A mouth mirror is used to examine the inside of the mouth, the teeth, and the tongue.

The dental probe comes in a number of different sizes and shapes but the three most common are:

The straight probe (used to examine cavities and to check the margins of fillings or restorations), the Briault probe (used to detect the gap between the enamel and the dentine and to look for tartar hidden in the gum pockets), and the periodontal probe (less sharp than the other two and used primarily for taking measurements inside the mouth).

Scalers

Scalers are used to remove tartar (the hard plaque build up) on the surface of your teeth and hidden in the gum pockets. They’re also used to clean away any other surface deposits or to remove temporary crowns.

Excavators

Excavators serve two very important dental functions: they remove softened dentine and temporary fillings, and the back of the blade can also be used to insert linings in filling materials.

Chisels, hatchets, and hoes

Chisels, hatchets, and hoes are used most often during the process of filling a cavity. Their purpose is to remove any unsupported enamel that might compromise the filling process and longevity.

Some other notable hand held tools are plastic instruments (used to shape filling materials, plastic instruments do not use heavy pressure) and condensers or pluggers (used to compress and form filling materials, they do use heavy pressure).

Rotary instruments (also known as the infamous ‘dental drills’) are the ones that tend to freak patients out the most. Rotary instruments have two speeds (high/air turbine or low) and the noise produced in high speed mode is the one most of us typically associate negatively with our dental visits.

As alarming as the loud noises produced by the rotary instruments may be, they’re a vital part of maintaining your oral health! Drills can perform all kinds of necessary functions like filling cavities, smoothing the surface of the teeth, removing decay, and repairing chips.

Now that you’ve seen all of the tools of the trade, we hope to alleviate any anxiety you might normally feel next time you’re sitting in your dentist’s chair!

So, You’re Getting Invisalign…

Whether braces weren’t an option when you were younger or you’ve always had that one crooked tooth that you wish would get in line, Invisalign is a fantastic and subtle option to get that perfectly straight smile you’ve always dreamed of. Check out the steps we’ve outlined below to learn more about how it works and to decide if it’s the right option for you.

This is your chance to ask your dentist any questions you have about Invisalign and how it will fit into your existing oral health routine and lifestyle.

Come prepared with questions like: How much will it cost? Will my insurance cover it? Are the retainers painful to wear? How long will I need to wear my retainers and how many retainers am I likely to go through?

The more informed you are before proceeding to the next step, the better!


Once you’ve committed to Invisalign, the process will move forward fairly quickly. Your dentist will need to get an accurate and thorough scan of your teeth so they can create your individualized Invisalign trays. Your mouth will be X-rayed, photographed, and given a 3D scan (and fear not: it’s a totally mess-free process as no impressions need to be taken).


This is one of the most exciting and unique parts of the Invisalign process. Your dentist will come up with a completely individualized treatment plan for you based on your X-rays, photographs and scans. This includes both the length of treatment and the number of retainers (also called trays) that you will wear. 

Your dentist may also decide that attachments (or ‘buttons’) are a necessary part of your treatment. Attachments are small, clear grips attached to the surface of some of your teeth to help keep the retainers anchored in place properly.


Once you and your dentist have agreed on your treatment plan, your dentist will have all of the retainers you will need throughout the process created. If attachments are part of your treatment plan, your dentist will likely schedule an appointment with you to apply them prior to picking up and wearing your retainers.


The big day is finally here and your journey to the straight smile you’ve always dreamed of is about to begin! Your dentist will run through the process of putting the retainers in as well as any maintenance do’s or don’ts you should be aware of.


By the time you’re ready to move onto your second retainer, there should already be a noticeable improvement with your teeth. Just like your friends (or your kids) who would complain every time they had their braces tightened, you will likely feel a bit of discomfort as you switch to a new tray. This is all a natural part of the process and it means the retainers are working how they’re supposed to.


Once again, there should be a visible difference between your teeth at the beginning of the Invisalign process and now!


This is the fun part! You’ll get to see exactly how far you’ve come and how much you’ve already achieved. Your dentist will take a look at your mouth to make sure everything is as it should be and to see if your attachments need to be adjusted.


Congratulations! You’ve done it! You’ve followed all of the steps your dentist laid out for you, dutifully changed your trays, and now you’ve got a mouth full of gloriously straight teeth to prove it! 

In your final assessment, your attachments will be removed from your teeth and your dentist will cover everything you need to do to ensure your teeth stay put (options will likely include either a fixed appliance or a removable appliance).


Benefits of Invisalign

Still not sure if Invisalign is right for you? Here are some of the amazing benefits you can look forward to:


  1. Unlike braces, your Invisalign retainer can be removed to eat, drink, and brush your teeth.

  2. Invisalign retainers are transparent and are much subtler than braces.

  3. Invisalign retainers are comfortable to wear

  4. New retainers are put into place to adjust for the movement of your teeth (meaning you don’t just wear one retainer for the entire process)

  5. Invisalign retainers are easy to pop in and out (which is particularly helpful if you have a special occasion coming up).

  6. And most importantly, your Invisalign retainers will not affect your speech. Once your mouth has adjusted to the retainer, you’ll be completely lisp free (we promise).

The Perfect Little Smile

Picture Day is often both a blessing and a curse; it helps parents and children build lasting memories and gives kids something to look forward to during an otherwise mundane school day, but one bad outfit choice or awkward blink at the wrong moment can ruin everything.

Here are some tips and tricks that we think can help you and your kids achieve the perfect Picture Day smile:


On the morning of the school picture, send your child to school with floss (in string or stick form), some chewing gum, a compact mirror, and a comb. Remind your child to check their teeth before they head down to have their picture taken because all it takes is one piece or parsley or one popcorn kernel to spoil their smile.


Have your child practice their smile in front of a mirror a couple of days before pictures are scheduled to occur. Kids are often self-conscious about having their picture taken by strangers, so do your best to help get them comfortable by bringing your cellphone with you and taking a bunch of warm up pictures with them first. Bonus points if you join in the fun and have your child take some pictures of you too.


Have a back up outfit ready. Accidents happen and the last thing you want is for your child to get to school and to spill applesauce all over themselves just prior to having their picture taken. Ensure your child brings a spare shirt and a spare pair of pants with them just in case. This also helps if your child has last minute outfit regret but is unable to go back home to change.


And speaking of outfits – don’t force your child to wearing something they don’t want to wear or feel uncomfortable in. It will show on their face and in their composure and will be immortalized in their school picture forever. Work with them to find an outfit you’re both happy with.


Remember to make any major changes to your child’s appearance the night before or the morning of! Yes, this includes impulsive hair cuts and, depending on your child’s age, experimenting with hair dye. As adorable as your child might look with bangs, the morning before Picture Day really isn’t the time to unleash your scissors on them.

Your Perfect Smile

Grin and bear it: your smile is something that’s universally recognized as a symbol of happiness, regardless of where you live or the language you speak. Not only is your smile an indication of your demeanor, but it can affect those around you, too. Have you ever tried smiling at a stranger? It’s completely contagious — try it!

Between selfies, making a good first impression, and even winning over your boss, your smile contributes to all of ‘em.  Here’s how to perfect your winning smile:

You’ll feel a little silly practicing different smiles in the mirror (only if you get caught), but it’s important that you feel confident and a bit sassy in the smile you wear everyday. And a great way to feel confident in your grin is to know what it looks like! Your perfect smile  should be comfortable enough that you can hold it for an hour. If it hurts, it’s probably slightly forced. So turn on some happy jams, head to your mirror, and you’ll find the no-cheese please smile before you know it.


Nothing says camera-ready like a white, healthy smile. As kids, we have our parents to remind us to take care of our teeth, but as adults, chances are your mom is not calling you twice a day to remember to brush AND floss (including those teeth way at the back!). Visit your dentist every 6 months for a cleaning, rinse with water after drinking red wine or eating a sugary treat, and try to use a straw when drinking coffee or tea.


Ahh, yes. The smize, which is smiling with your eyes. Ever wondered why we are blessed with crows feet as we get older? From all the smiling! Turns out Tyra was right– smiling should be a combined effort with your mouth and eyes. When you show off your grin, pay attention to how your eyes feel. If they feel slightly squinted and the muscles around them are contracting, you’ve nailed it!


The most genuine smiles are those that emerge during laughter. Next time you’re posing for a photo, think of something that makes you chuckle and you’ll be pleasantly surprised with how the picture turns out. No untagging required!


Now that you’ve found your best smile, rock it as often as possible! In the shower, on the phone, at the grocery store–we promise you’ll notice an extra pep in your step.

How To Take The Perfect Selfie #NoFillings

Natural light is your best friend, so if you’re inside, stand near a window and away from any harsh yellow artificial lighting (looking at you, changing room lights). If you can’t find natural light and need to use the flash, here’s a Kardashian approved trick: hold a white piece of paper or a napkin near your face to offset the glare. If you’re outside, embrace a grey day! Bad weather makes for good pictures, and any shots taken in the ‘magic hour’ (an hour after sunrise and an hour before sunset) will be…well, magic.


The Rule of Thirds is a nifty trick professional photographers use to get perfectly balanced shots – and it works for selfies, too. Turn on the ‘grid’ function on your smartphone and you’ll see your screen is broken into three sections, with 4 intersecting lines. Try lining up your face (especially your eyes) with one of the intersections for your next selfie. People’s eyes are naturally drawn to those points, plus it will make your picture look more balanced. Selfie win-win!


Do a quick double-check of your background while composing to make sure it’s more ‘inspirational and artsy’, less ‘should have cleaned up my room’. White space is clean and classy, a soft pink is very hot right now, or selfie in front of an amazing view to show off your adventurous side!


Experiment with angles to play up your absolute favourite features: a high angle is universally flattering, so hold your camera a little higher than your face when selfie-ing. Experiment with turning your shoulders a little to the left, then a little to the right, working with your natural light (which you’re in because you read point 1) to find the angles at which the light hits your face in the most flattering way. Use your front-facing camera and you’ll soon find the angle that makes you feel fabulous!


Your smile is the main attraction of your selfie, so take good care of it all year round! Schedule regular check ups with your dentist every 6 months, brush and floss regularly, take your oral hygiene seriously, and rinse with water after enjoying staining liquids like red wine or coffee. That way, when the selfie urge strikes, your pearly whites will be ready to go!


You’re probably holding your camera with one hand, so here’s a quick iPhone selfie hack: the volume buttons also take a picture, which makes it easier to take a steady picture than using the shutter release on-screen. Then just smile – think of your favourite inside joke or scene from a movie to help you have a relaxed, natural smile – and snap away! Take a couple shots to be on the safe side, or use Burst Mode if your phone has it – then, you can pick your absolute favourite!


Instagram has some easy-to-use editing tools to take your selfie to the next level – not only do they have a variety of filters, but you can edit your photos for lightness, saturation, and sharpness. There are also editing apps to give you that celebrity glow by fixing blemishes and flyaways. While these apps are not necessary, the best selfies are all about confidence; if a quick post-production fix helps you post with more confidence, then you do you. #NoJudgement


You’ve composed, taken, and crafted the world’s best selfie – post your work of art and share your smiling face with the world!