So, You’re Getting a Cavity Filled…
First things first – don’t panic! Nine out of ten Canadian have cavities, and so getting a filling is a very common procedure. We’re going to walk through the steps so you know what’s ahead, and how being a dental patient looks and feels at Archer Dental.
Some quick tips for getting psyched up for a cavity filling:
- Proactivity! Be consistent with regular brushing and flossing, before, during, and after your filling.
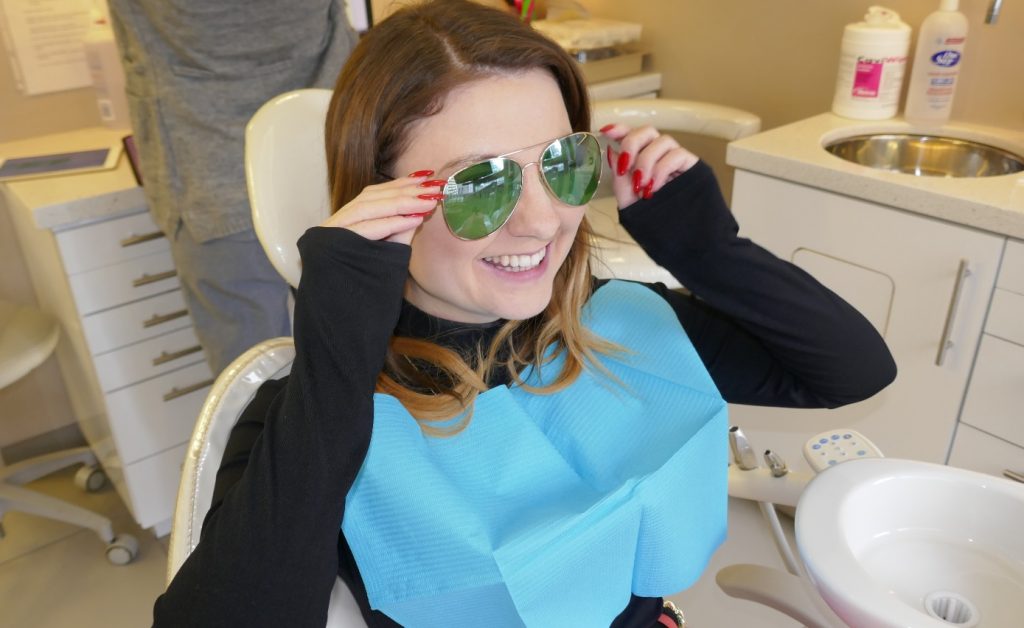
- Prying! Ask your dentist as many questions as you can before the procedure: do they have cameras so you can see what’s going on? What kind of anesthetic do they use? Do they have a flavoured numbing gel you can select?
- Paperwork! Make sure your dentist has all your insurance information on file, so you don’t have to do paperwork with a numb mouth.
- Put Your Feet Up! Try your best to relax when you get there. Try breathing techniques, meditation, or establishing a ‘stop’ signal with your dentist in case you need to take a break. But avoid self-medicating, as it might interfere with dental anesthetics.
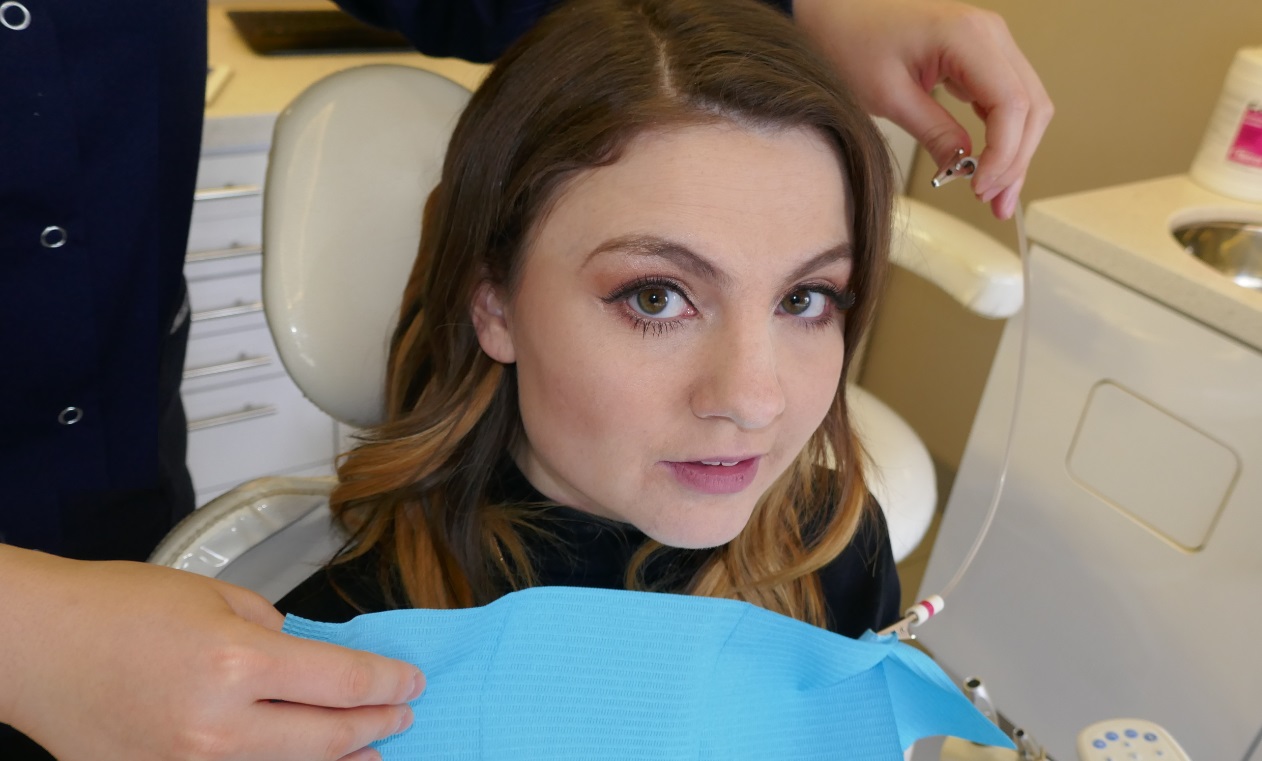
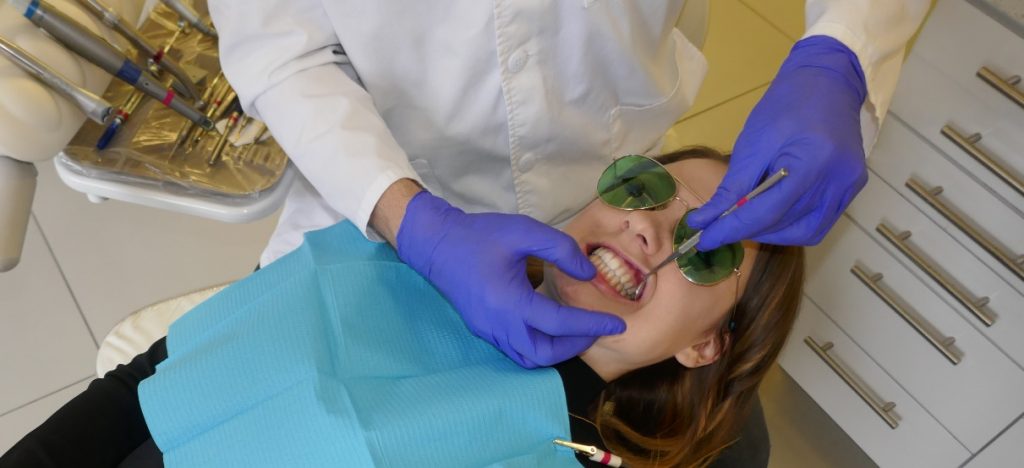
Settle in the chair and do whatever you need to get comfortable (within social norms;). Chat with your dentist before you have wads of cotton in your mouth; ask if you can listen to music (load your phone with your favourite jams or podcasts, or the dentist might provide headphones), and some offices are even offering Netflix so you can catch up on some streaming! But maybe stay away from Little Shop of Horrors…
Real talk: this is the needle bit, but it looks worse than it is. No one wants to see a needle coming at their gums, but thanks to the numbing gel you won’t feel any pain. Just breathe deeply, close your eyes if you want, crank some Beyoncé, and it’ll be over before you know it.
Real talk: this is the needle bit, but it looks worse than it is. No one wants to see a needle coming at their gums, but thanks to the numbing gel you won’t feel any pain. Just breathe deeply, close your eyes if you want, crank some Beyoncé, and it’ll be over before you know it.
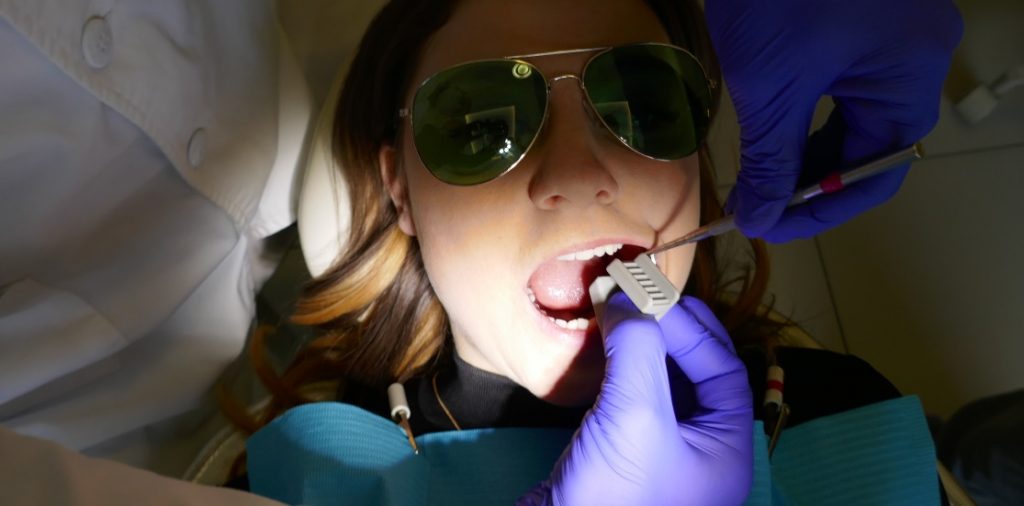
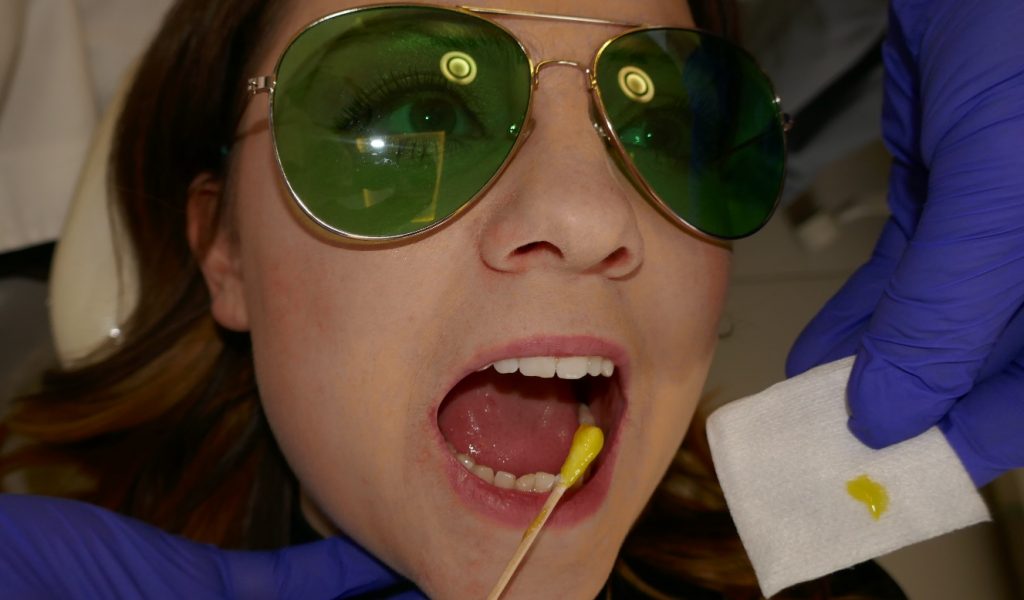
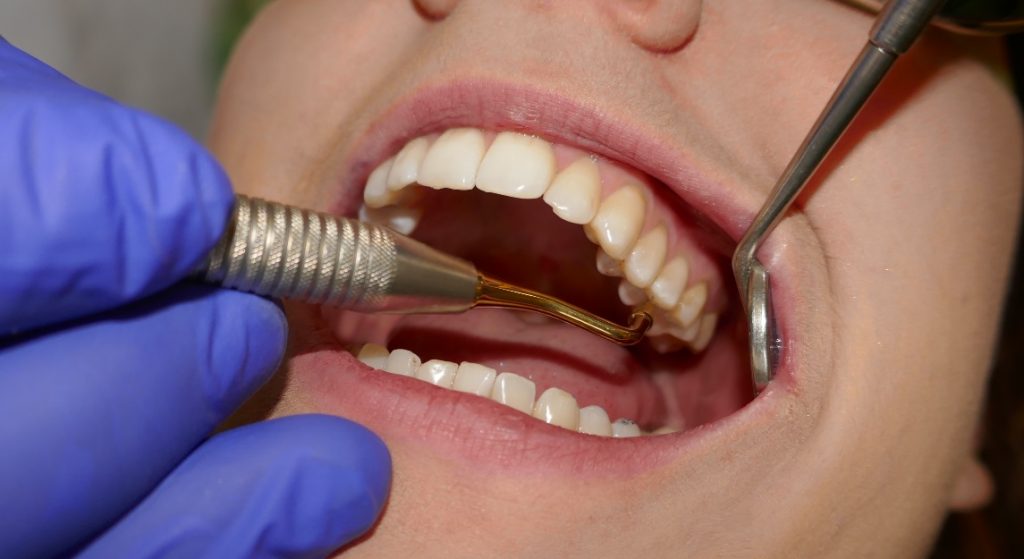
Your dentist will insert a rubber dam or cotton rolls to keep your tooth isolated and dry, so now is not the time for small talk. They’ll also insert a bite block to prop your mouth open, so you can relax your jaw.
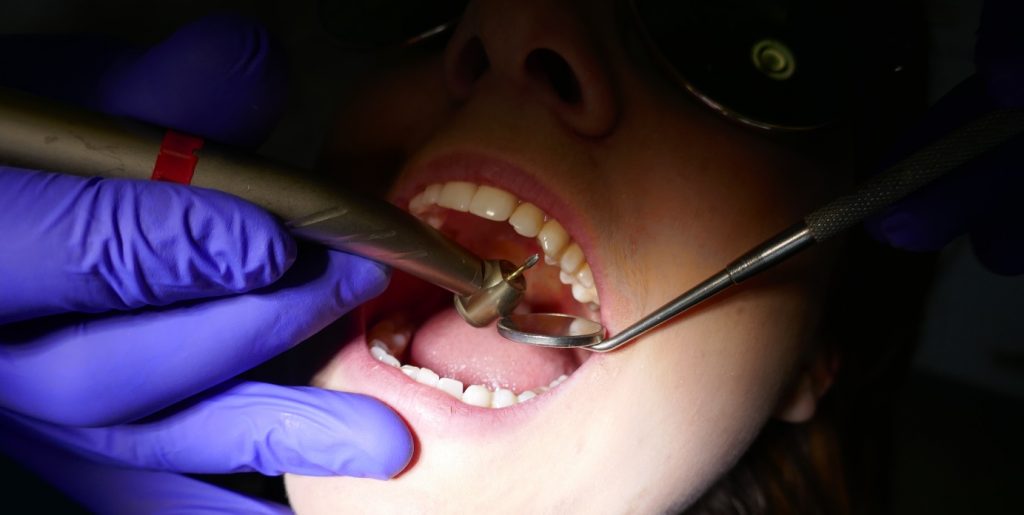
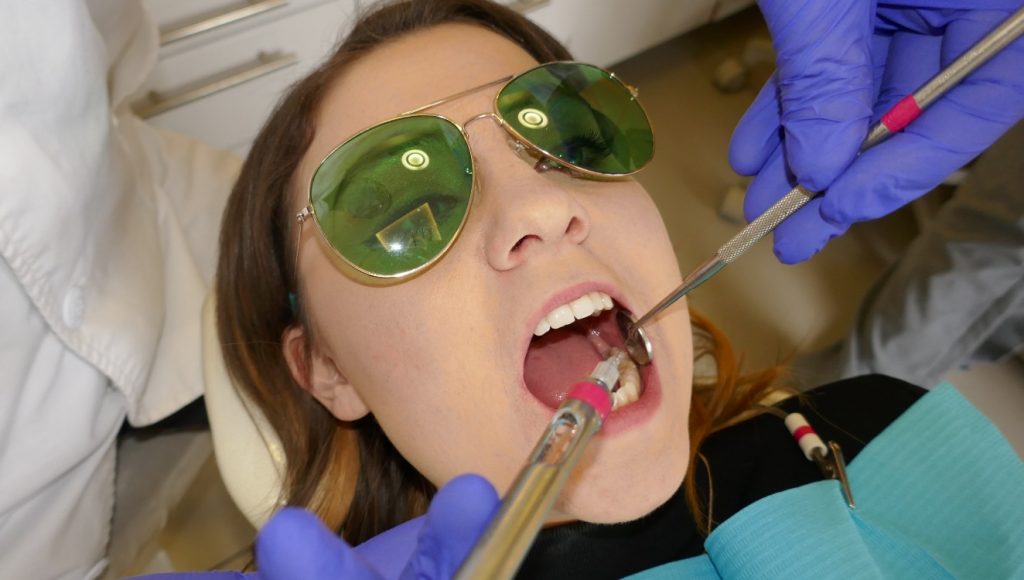
Your dentist will use a hand-held dental tool to remove any decay. It’s going to make noise and look a bit scary – but it’s totally painless, so don’t fret! Your dentist might use an intraoral camera to show you what’s happening, so you can satisfy your cavity curiosity.
It’s time to fill ‘er up! Your dentist will likely use a composite filling; a mixture of acrylic resin and powdered glass that’s easy to match to the colour of your teeth, giving you a more natural smile. They might also use a metal amalgam, which is easier to work with and more cost effective – but silver, and therefore much more noticeable.
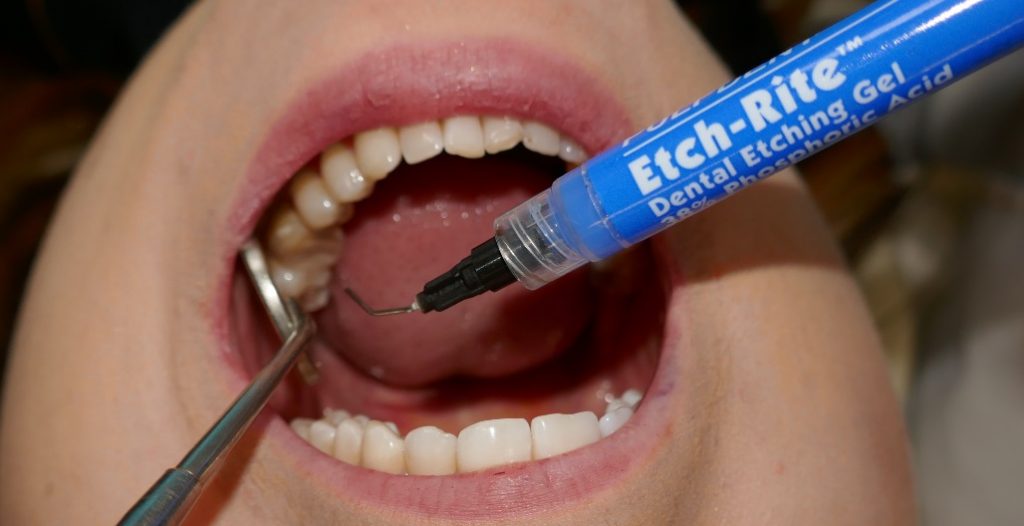
Once your dentist has selected and placed the filling, they use an etching material to remove any bacteria and the (delightfully-named) smear layer. Now it’s time for a quick rinse and dry before re-wetting with a desensitizing agent.
Your dentist will finish the filling process by placing a flowable type of composite material onto your tooth. They’ll start adding layers bit by bit, building up the filling then carving and etching to create the natural shape of a tooth. It’s basically sculpture – your dentist is creating a tiny tooth work of art!
This one is pretty straightforward…your dentist will use the air gun pictured on the left to clean and dry your tooth!
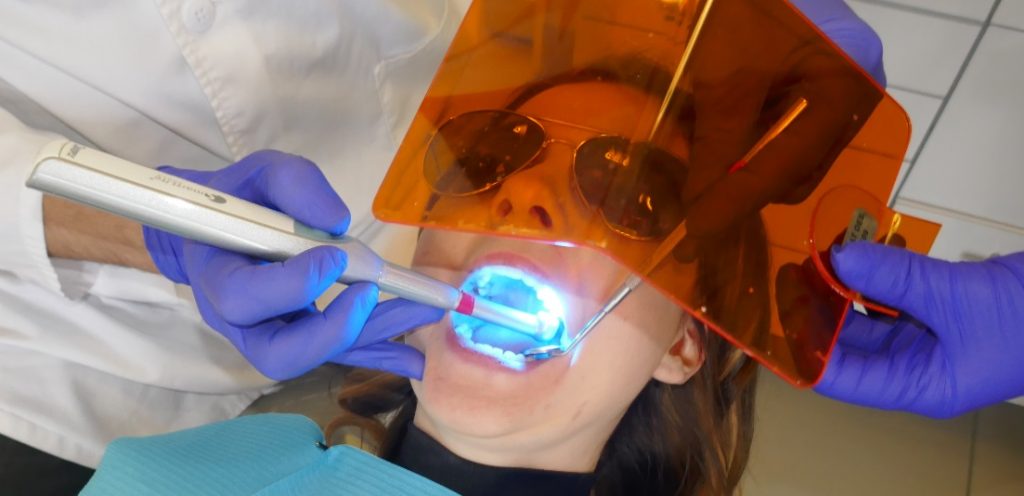
Your dentist will use a blue light to ‘set’ the filling: it polymerizes the composite material, hardening it.
At this point, your dentist is going to do everything possible to make the filling feel and look like a natural tooth.
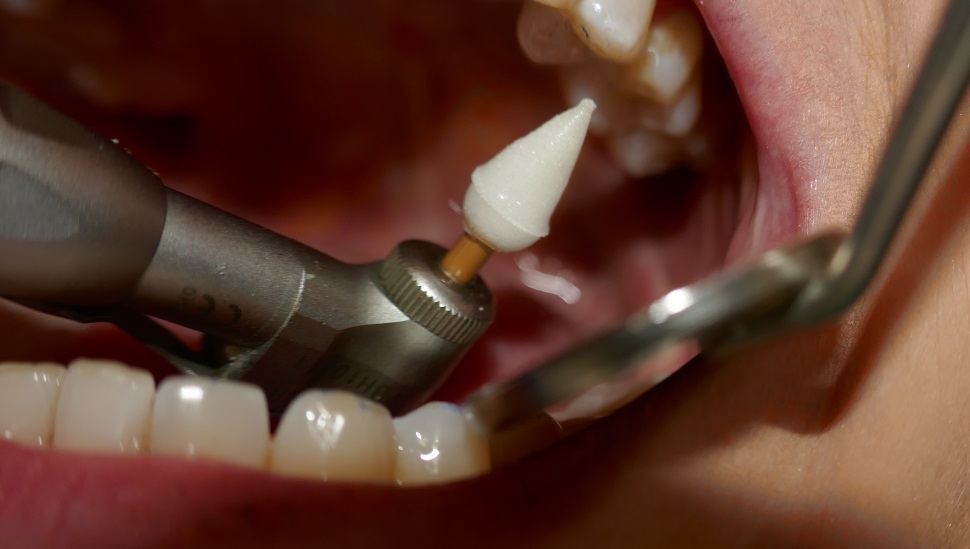
They’ll polish the filling, using specially shaped implements to bring out the curves and grooves, then use special polishing cups and stones to make everything silky smooth.

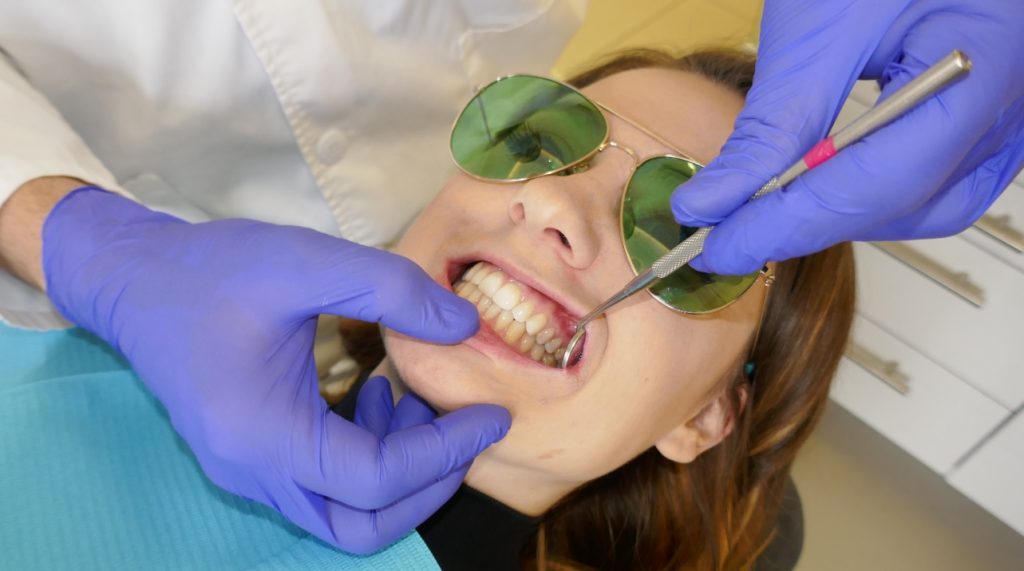
To make sure the grooves of your new filling nestle snugly into the grooves of your other teeth, the dentist will use articulate paper to do a quick bite test.

On the off chance your filling isn’t sitting quite right, the dentist might pop back in to make some adjustments with the polisher. But, a good dentist will get the bite right 99.9% of the time, so this step might not be necessary.
Your dentist might take an intraoral photo so you can see your tiny tooth work of art for yourself, and then you’re free to go and smile a little wider with your brand new filling!
Archer Dental offers you three convenient locations: Archer Dental Rosedale at Sherbourne and Bloor, and Archer Dental Baby Point at 387 Jane St., and now at 583 College St, Archer Dental Little Italy. All three locations are easily accessible via public transit, vehicle or foot.